The Four Connections and Their Sequence
A solar street light has exactly four electrical connections: (1) Battery to controller. (2) Solar panel to controller. (3) LED load to controller. (4) Earth/ground connection to pole body. The sequence matters critically - always connect in this exact order: Battery first → Panel second → Load third. Reversing the sequence can destroy the charge controller instantly. Disconnecting: reverse the sequence - Load first → Panel second → Battery last.
Connection 1 - Battery to Controller
Identify the battery terminals on the controller: marked BAT+, BAT-, or with a battery symbol. Connect the battery positive (red wire) to BAT+ and battery negative (black wire) to BAT-. Verify polarity with a multimeter before making the final connection - reverse polarity destroys the controller instantly and is not covered under warranty. Terminal type: most controllers use screw terminals. Torque the screws firmly - loose battery connections cause voltage drop, heating, and intermittent operation. Apply anti-corrosion compound to the terminal area after connection. LED status: after connecting the battery, the controller's status LED should light up indicating it is powered.
Connection 2 - Solar Panel to Controller
Identify the panel input terminals on the controller: marked PV+, PV-, SOL+, SOL-, or with a sun symbol. Connect the solar panel positive (usually red or marked +) to PV+ and negative to PV-. For all-in-one systems: the panel cable is pre-terminated with MC4 connectors - simply mate the male and female MC4 connectors (click until locked). For semi-integrated systems: run the panel cable through the conduit inside the pole. Never connect the panel to the battery directly bypassing the controller - the panel will overcharge and damage the battery. Verify the panel is producing voltage: measure PV+ to PV- with a multimeter in sunlight - should read 17–21V for a 12V system.
Connection 3 - LED Load to Controller
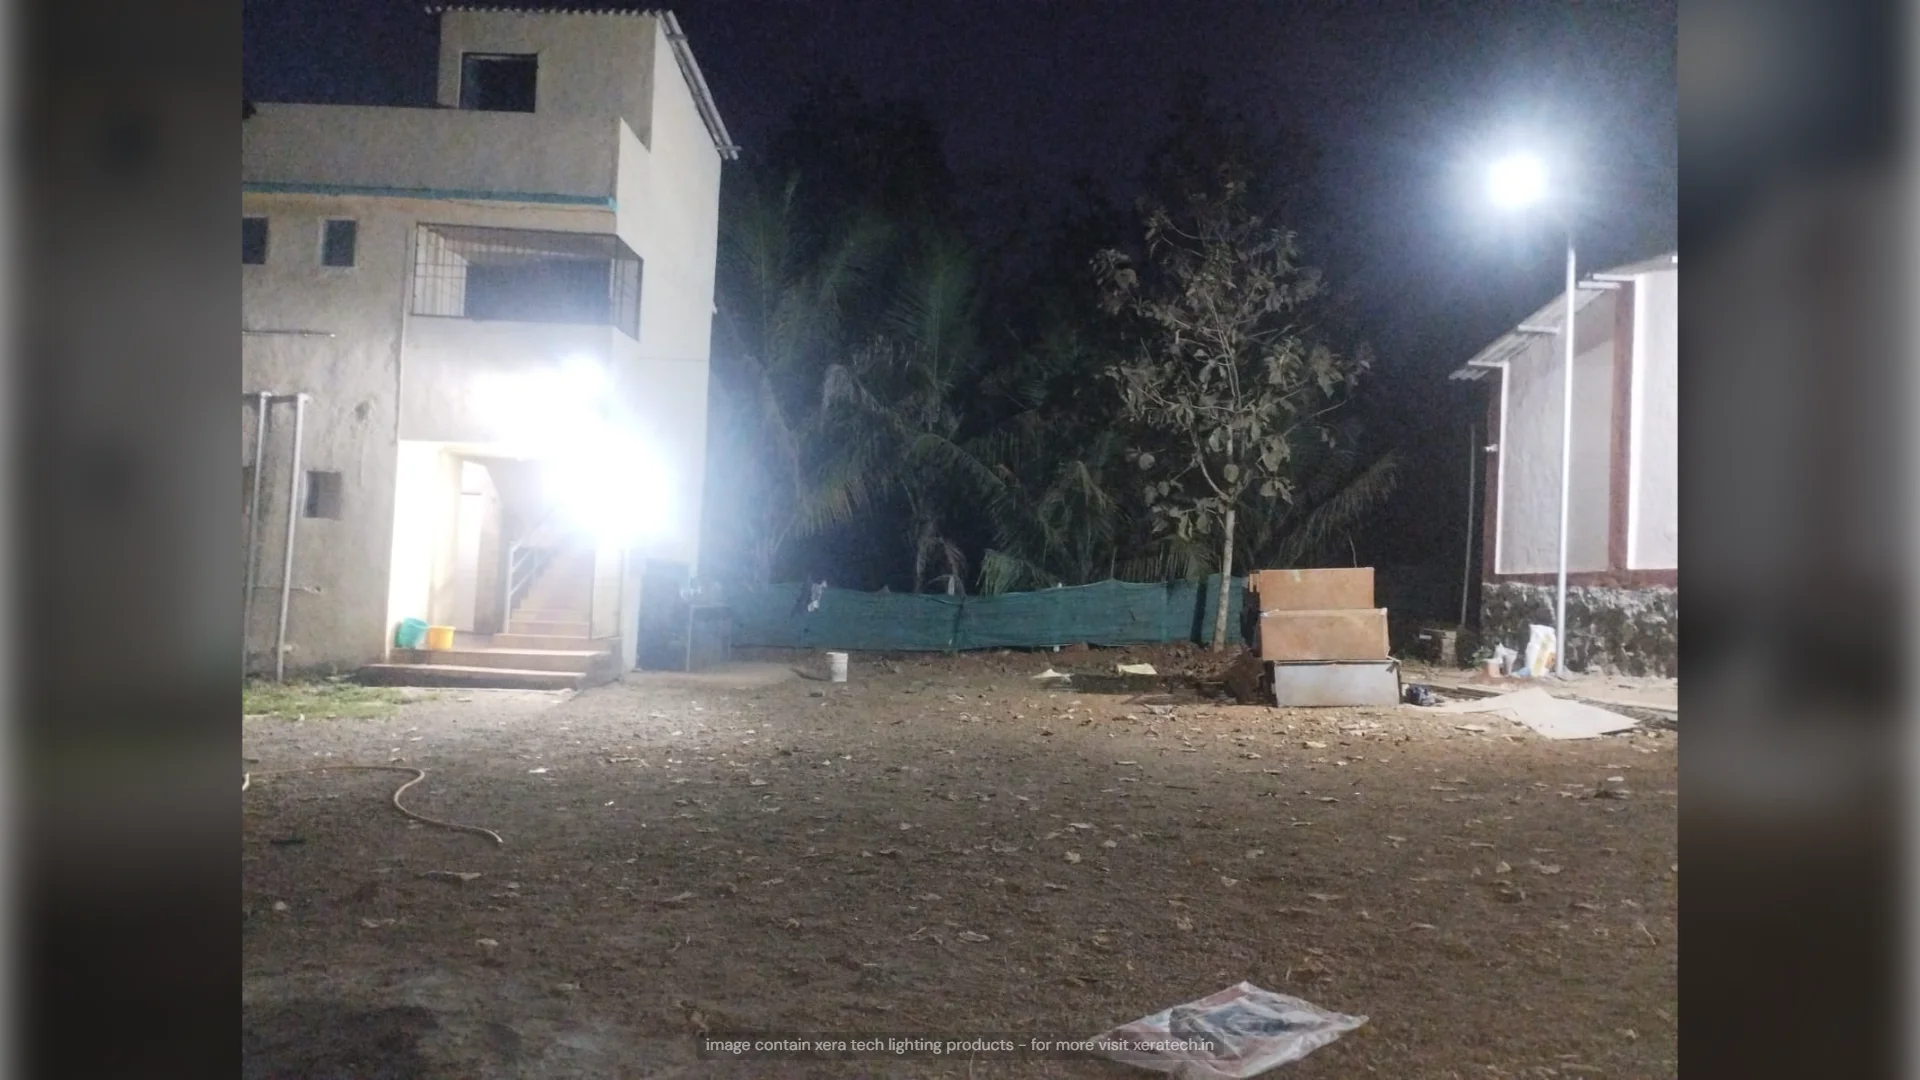
Connect the LED driver's input cable to the controller's load output terminals: marked LOAD+, LOAD-, OUT+, OUT-, or with a light bulb symbol. Connect positive to LOAD+ and negative to LOAD-. Test: cover the solar panel completely with opaque cloth. The controller should switch the LOAD output ON within 30–60 seconds (photocell detects darkness). Measure voltage at the LOAD terminals with the load connected: should be equal to battery voltage (12V ± 0.5V). If no output: verify the controller's load current rating exceeds the LED's current draw. A 20W LED at 12V draws 1.7A - use a controller rated minimum 5A for adequate headroom.
Common Wiring Mistakes to Avoid
Reverse polarity on battery: instantly destroys the controller MOSFET - most controllers have no reverse polarity protection. Always double-check with a multimeter. Connecting panel before battery: controller powers up from the panel with no battery reference, causing unpredictable behaviour and potential damage. Loose connections: the single biggest cause of long-term failures - check all terminals with a gentle tug after tightening. No earth connection: pole body must be earthed to the earth electrode for electrical safety - this is not optional. Using undersized wire: voltage drop on undersized cable causes dimming. Use minimum 4 sq.mm for runs under 5m, 6 sq.mm for longer runs. Exposing bare wire ends outside the conduit: UV and moisture degrade unprotected wire insulation within 1–2 years.