What You Need Before You Start
Before installation, gather these tools and materials: a spanner set, drill machine, crimping tool, digital multimeter, spirit level, and safety harness. You will also need cement, M-sand, and iron rods for the foundation. Verify that the solar street light kit includes: the luminaire head, solar panel, battery (usually LiFePO4), charge controller, mounting arm, pole, and all fasteners. Check the wattage - a 30W light suits lanes and village roads, 40–60W suits main roads, and 80W+ suits highways.
Step 1 - Site Survey and Location Selection
Choose a location that receives direct sunlight for at least 6–7 hours daily. Avoid spots shaded by trees, buildings, or overhead wires. Mark a spot at least 0.5 metres away from the road edge. Check for underground utilities before digging. Measure inter-pole spacing: typically 20–25 metres for 30–40W solar lights on village roads, and 30–35 metres for 60W lights on main roads.
Step 2 - Foundation and Pole Erection
Dig a pit of approximately 600mm × 600mm × 900mm (depth depends on pole height - use 1/6th of pole height as a rule of thumb). Place the anchor bolts or base plate inside. Mix concrete at a 1:2:4 ratio (cement:sand:aggregate) and pour it around the base. Allow curing for at least 48–72 hours before erecting the pole. Once cured, erect the GI or MS pole vertically, verify with a spirit level, and tighten the base nuts firmly.
Step 3 - Battery and Controller Placement
Most modern all-in-one solar street lights have the battery integrated into the fixture. For semi-integrated models, mount the battery box on the pole at about 2–2.5 metres height to prevent theft and flooding. Connect the charge controller first - always connect the battery before connecting the solar panel to avoid controller damage. Follow the sequence: Battery → Controller → Solar Panel → Light.
Step 4 - Solar Panel Mounting and Angle
Mount the solar panel on the adjustable arm at the top of the pole. In India, the optimal tilt angle equals your latitude. For Nashik (20°N), set the panel at 20°–25° facing true south. Avoid magnetic south - use a compass app to find true south. Tighten all fasteners with a torque wrench. Even 5° deviation can reduce energy generation by 8–10% over a year.
Step 5 - Wiring and Connections
Use weatherproof connectors (MC4 type) for all solar panel connections. Run wiring through the pole conduit to protect against UV degradation and rodents. Ensure all connections are tight - loose connections cause voltage drop and fire risk. Apply silicone sealant at all entry points to prevent water ingress. Use 4 sq.mm copper wire for runs under 10 metres, and 6 sq.mm for longer runs.
Step 6 - Sensor and Timer Configuration
Most solar street lights have a built-in PIR motion sensor and dusk-to-dawn photocell. Configure the dimming schedule: typically 100% brightness from dusk to midnight, then 50% till dawn to extend battery backup. Refer to the user manual for DIP switch settings. For remote-controlled models, use the app or remote to set schedules before final installation.
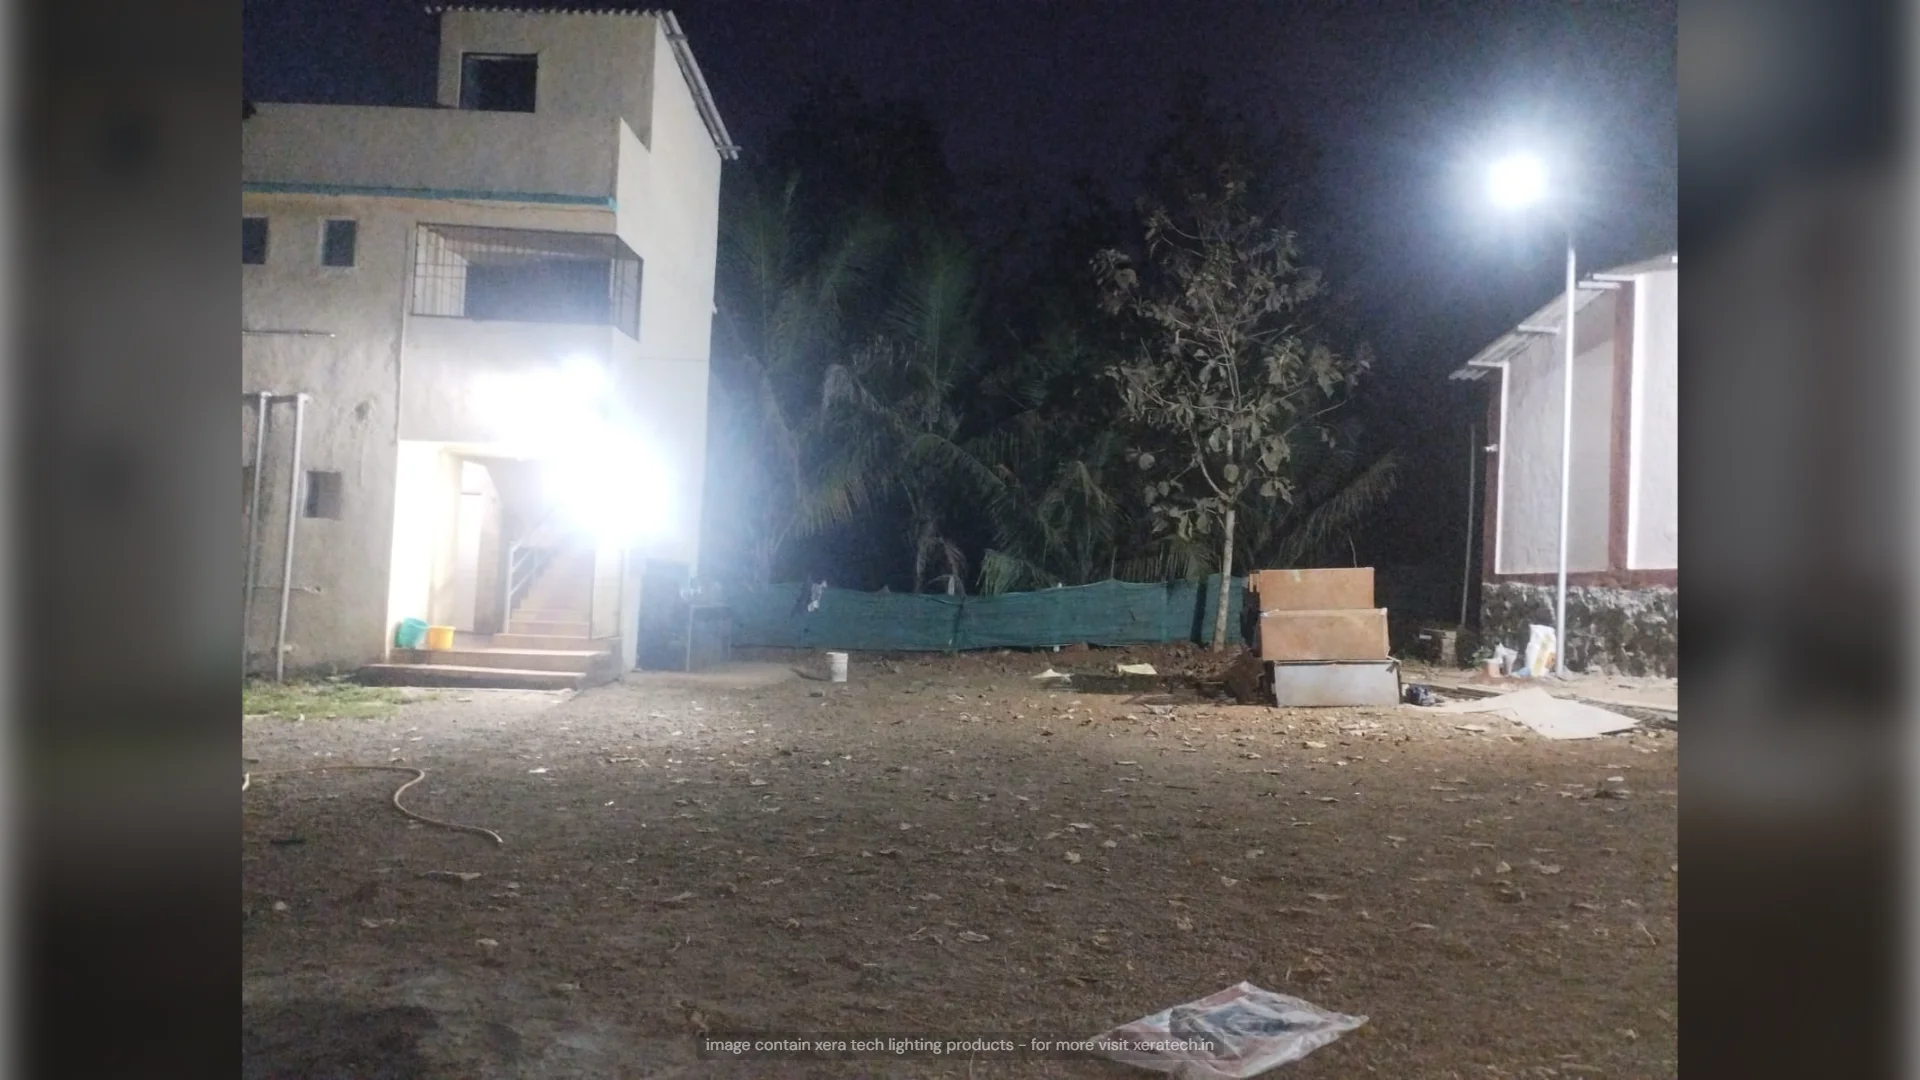
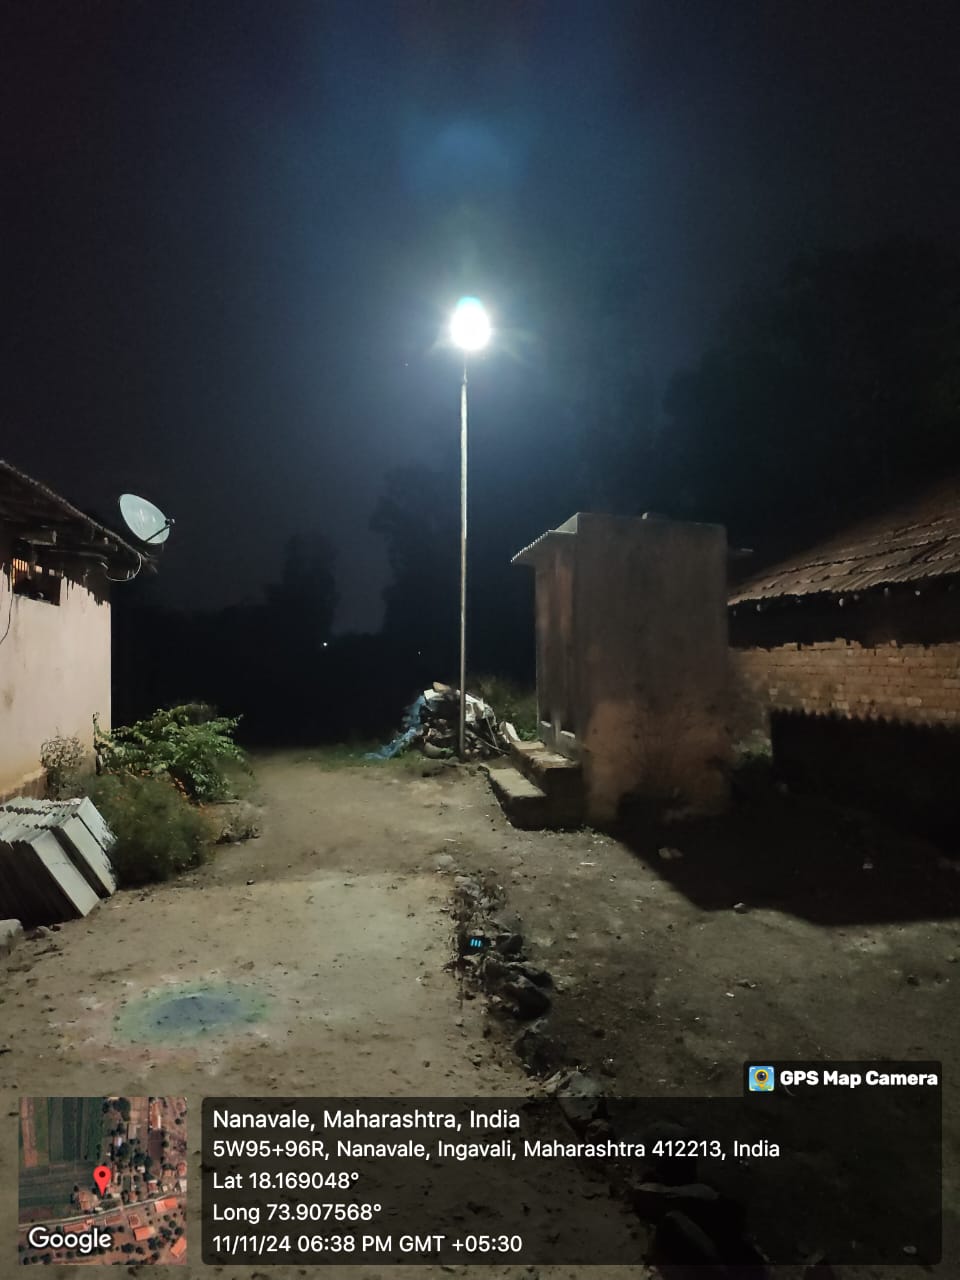
Step 7 - Final Testing and Commissioning
Cover the solar panel with a cloth to simulate night. The light should turn ON automatically. Uncover it - the light should turn OFF. Check the lux output at ground level using a lux meter (aim for 15–25 lux on village roads, 20–30 lux on main roads as per IS 1944 standards). Verify no loose fittings, rust spots, or exposed wiring. Record the commissioning date for warranty purposes.